
Editing images can be tricky, but with the right tools and techniques, you can achieve perfect results. One essential skill is knowing how to use the zoom in and zoom out features effectively. Here’s a simple guide to help you master this:
Using the Hand Tool for Zooming
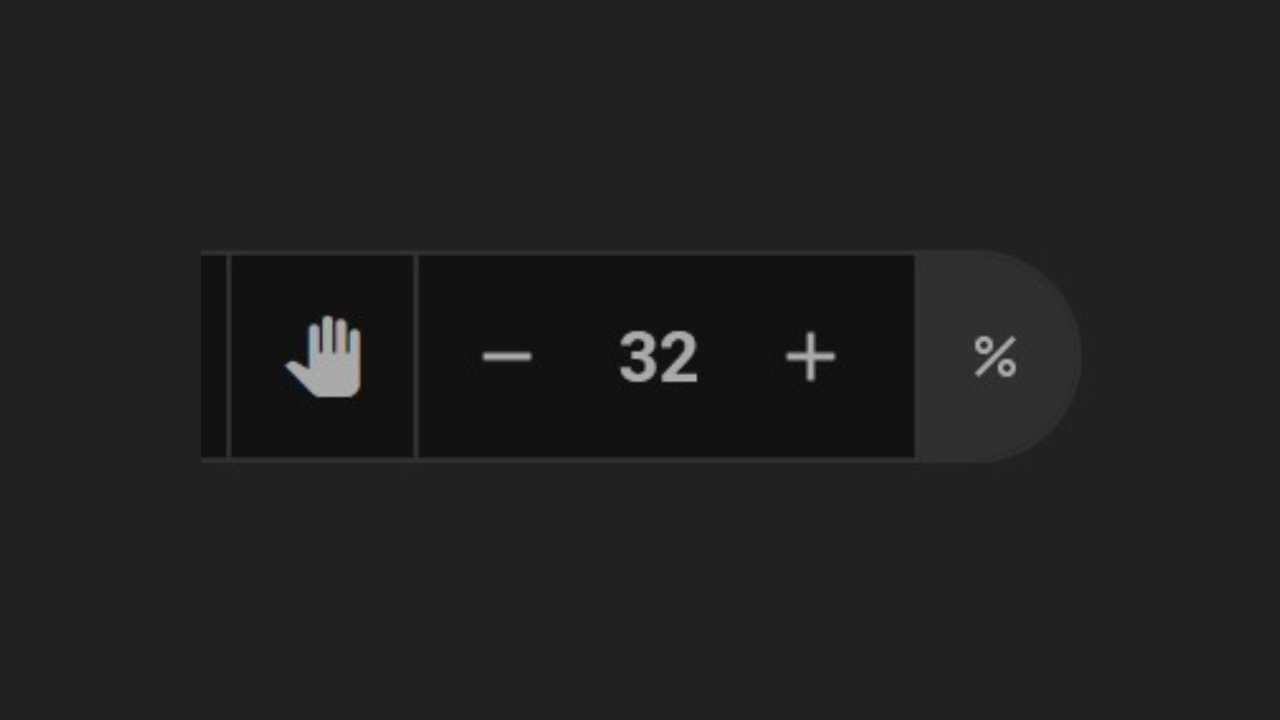
- Lock the Image with the Hand Tool:
- First, click on the ‘hand’ icon. This action will lock your image on the canvas, which means you won’t be able to edit it while it’s locked.
- Zoom In and Move the Image:
- Once the image is locked, you can zoom in to get a closer look at specific areas you want to edit.
- You can also move the image around the canvas to focus on different parts, ensuring you have the perfect view for detailed work.
Benefits of Using the lock, Zoomin and Zoomout.
- Prevents Accidental Edits: Locking the image ensures that you don’t accidentally make changes while navigating.
- Better Control: Zooming in and moving the image around gives you better control over the areas you want to focus on.
- Precision: With the image locked and zoomed, your edits can be more accurate, leading to a more polished final result.
Mastering the use of the photo editor for zooming in and out can significantly enhance your editing process. By locking the image, zooming in, and then unlocking it for edits, you can achieve more precise and perfect results. Practice this technique, and soon, you’ll find that your edits are more efficient and professional.